Search This Blog

Wednesday, January 27, 2021

Christmas Gifts 2020 Part 3


For Cltn

Walrus design

     For the grandkids this year I made hooded towels.  I used a video from Designs by JuJu to make them.

For Miss M

Unicorn design

     I ordered the towels from Target and washed everything in hot water and dried them in a hot dryer.  Hopefully if they were going to shrink at all, it would happen before I made them.


For MTB

Dinosaur design

     I bought several design sets from Designs by JuJu.  I used the walrus and shark from the Beach Peekers set for the oldest and youngest grandsons, the dinosaur from the Dinosaurs Peekers 1 set for the middle grandson and a unicorn from the Fairytale Peekers set for my granddaughter.

For SEB

Shark design

      I had fun picking out the fabrics to use.  On the two towels with the beach scene embroidery, I did use water soluble stabilizer to prevent the waves from sinking into the fabric.  The embroidery took some time, especially the unicorn with all the different fabrics, but then the towels went together really quick.  It was a fun project and I know they will use them when we hopefully go on vacation to a waterpark this summer.

Wednesday, January 20, 2021

Christmas Gifts 2020 Part 2


Full finished blanket

     For my three children I chose to embroider cozy blankets for them.  I was excited to find some blankets on-line that said they had a zippered opening to make it easier to embroider them.


Doing the first set of stitches

     Well they did have a small invisible zipper in on one side but the back and front fabric were stitched together most of the way around.  I not only had to open up the side seam larger than the zipper opening but I had to remove a lot of the stitching holding the two layers together so that I could got my hoop inside.

Close up of the first set of stitches

     I used the Split Wanda monogram from Designs by JuJu  for my design.  I added the family name and the year they were married in my software to the appropriate monogram letter.


Applique fabric in place

     I hooped sticky paper and then laid the blanket on top of that.  I also added some pins as the blanket was so heavy.  The first stitches were for placement of the fabric for the applique.  I then laid down the fabric and did the second set of stitching.


Stitching down the applique fabric

All trimmed and ready for the next step

     I then removed the hoop from the machine and trimmed close to the stitches.  Then I put the hoop back on the machine for the rest of the stitching.  I did add some water soluble stabilizer for the lettering so the stitches wouldn't sink into the plush fabric.

Stitching the rest of the design

     After all the stitching was done, I then had to sew back up the side seam and redo the stitching that attached the front and back fabrics.


All pinned and ready to stitch back together


     Because of where the zipper was placed and how the two pieces were attached to each other I wasn't able to get the monogram down in the corner where I wanted to put it.  It also wasn't practical to try to get it in the center. 


     I am happy with how the stitching went but not happy about the placement.  I think it would have been easier to just make the blankets from scratch.  They are enjoying snuggling under them though on these cold winter days.  I have used this monogram many times and am so happy each time how well it turns out.

Wednesday, January 13, 2021

Christmas Gifts 2020 Part 1

An assortment of the ornaments I made


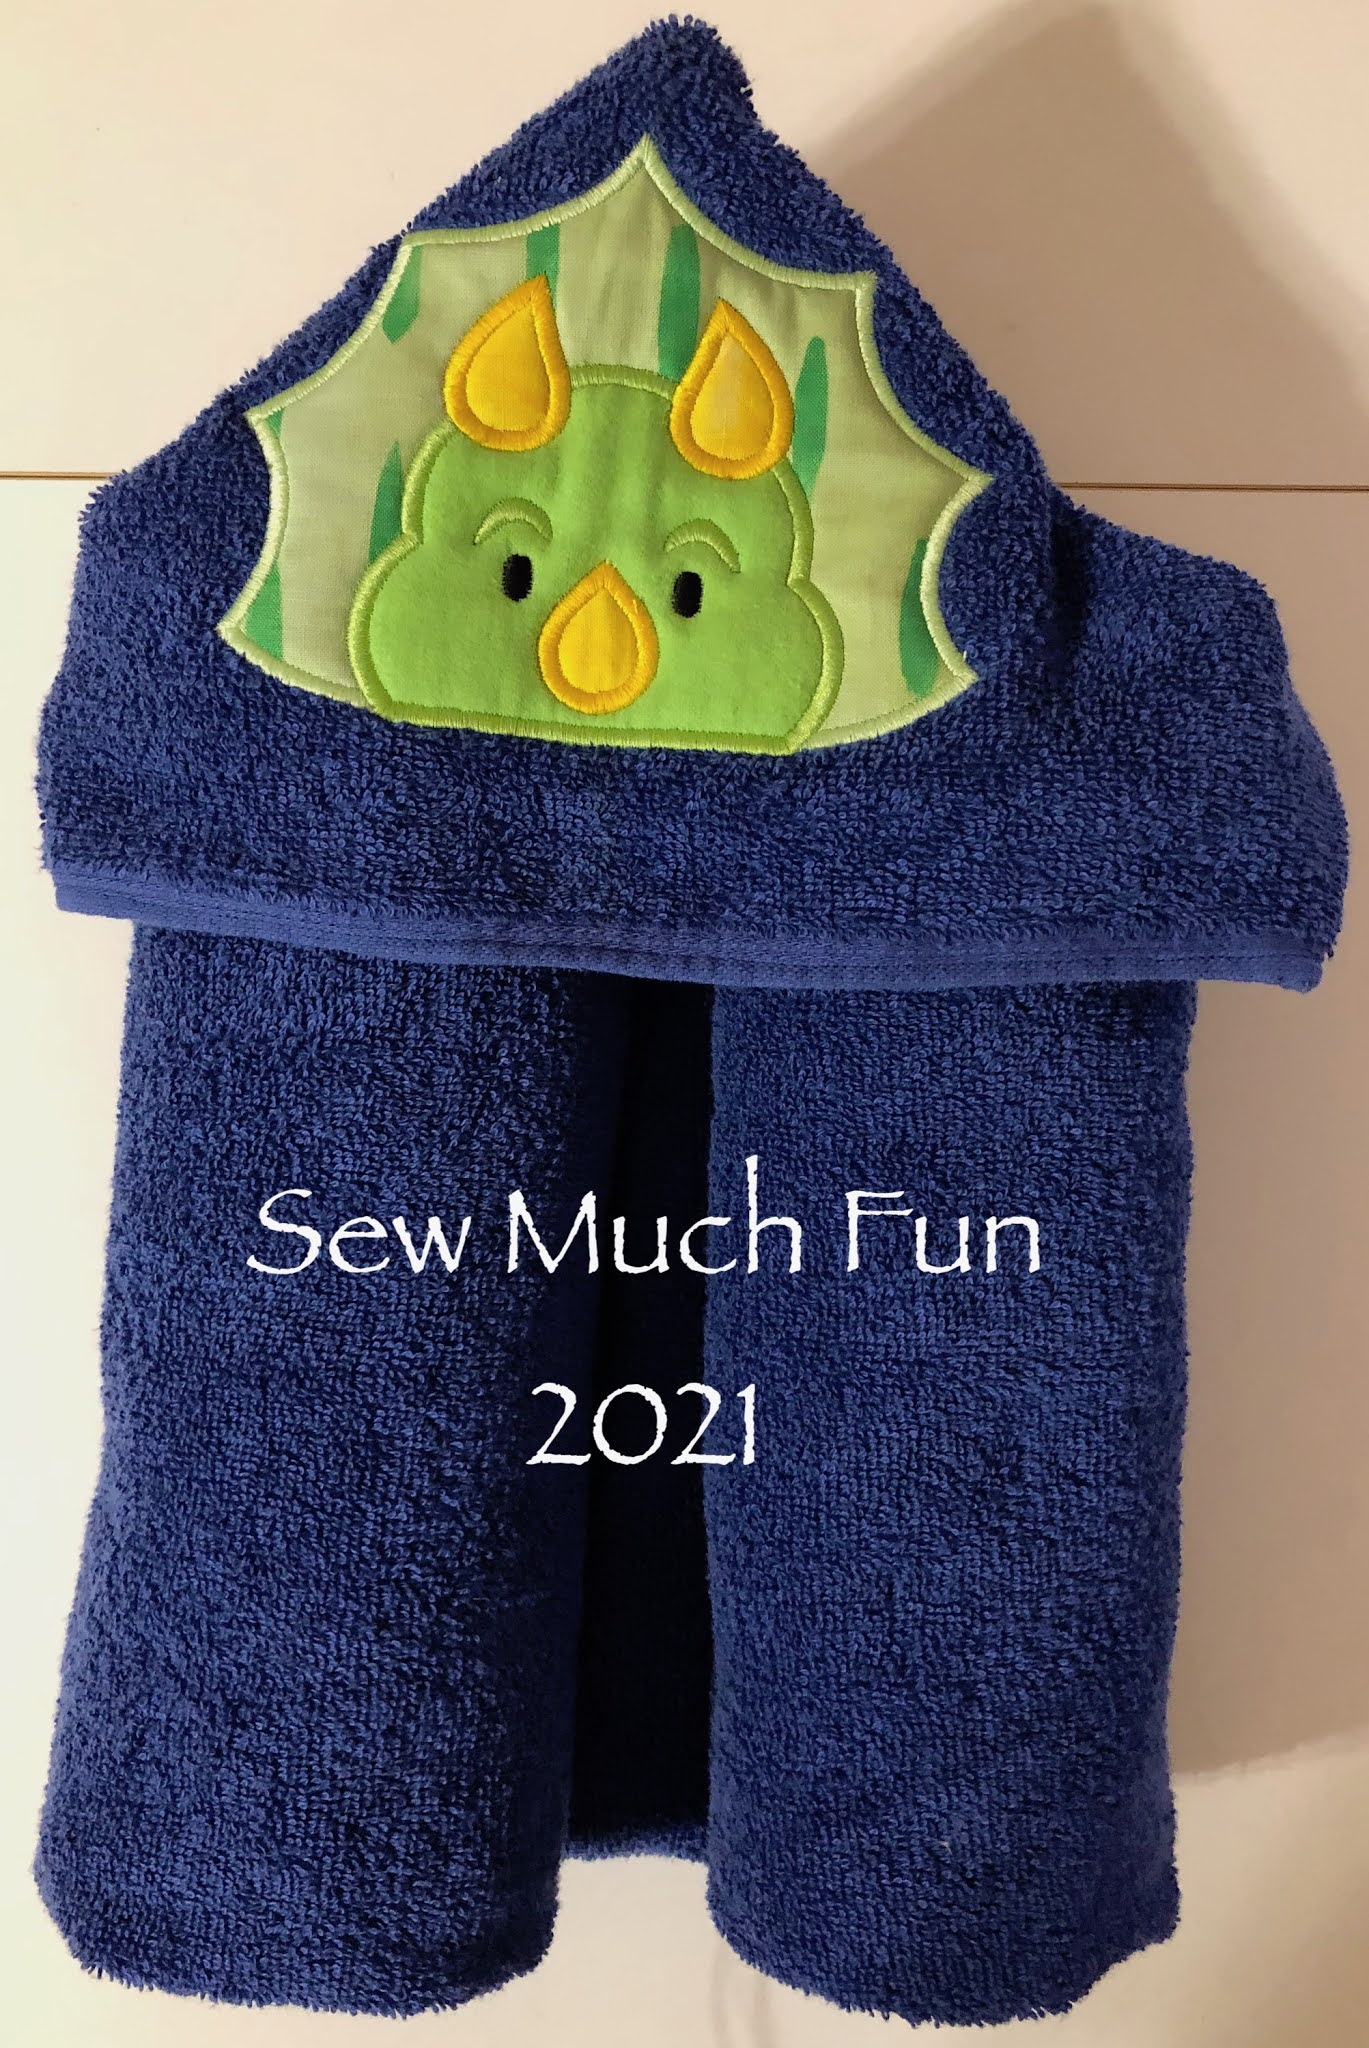
     I usually start on my Christmas gifts for the family in January or February.  That gives me time to sew while I can't be outside working in the garden.  I was all ready for 2020 and then everything shut down and we weren't going to be able to gather as we usually do.  I had to come up with something I could easily send to my siblings.  I chose to make ornaments that I could slip in with their Christmas card.

Gingerbread couple


     I chose to use a design from Designs by JuJu.  The file included both regular applique and a file to make an ornament.  I opted to make the 5x7 size.

Back of ornament


     To start, I cut pieces of felt 5" x 7" for the back and embroidered the year, 2020. I now know I should have cut them slightly larger as the ornament finished 5x7 and some room was needed around for the cutting.

Snowman


     I made two or three of each of the designs, sometimes changing the colors.  These each took about 45 minutes but they were fun to do.  It's a good thing I have lots of scraps from all the quilts I have made.  It makes it easier.  

Rudolph

     I hooped a pice of muslin for the base and floated tearaway stabilizer underneath.  It then was just a matter of stitching the outline for the fabric, laying the fabric piece on top, stitching the outline, remove the hoop, cut the fabric to the shape and keep repeating until all the fabrics were stitched and cut and the rest of the embroidery then took place.  I had a lot of fun choosing fabrics.

Penguin


     After all the stitching was done, then it stitched the outline of the ornament.  I then used painter's tape to put the embroidered felt onto the back of the hoop and then stitched the final outline.  I then unhooped the muslin and used my pinking shears to cut around the edges.

For Miss M

     I did use some non Christmas fabric for my granddaughter's ornament as she loves pink and purple.  She really liked it.  I spent a lot of extra time in my sewing room before Christmas but I do have my gifts for Christmas 2021 done, as long as we can get together again.