Search This Blog

Wednesday, May 30, 2018

Monogrammed Monochromatic Pillow

Monogrammed and monochromatic


     Just because a pillow is monochromatic it doesn't have to be boring.  For this pillow I chose a heavier upholstery weight fabric with an interesting texture.  I monogrammed an initial with a similar color thread and then added a frame of tassel trim in coordinating colors.

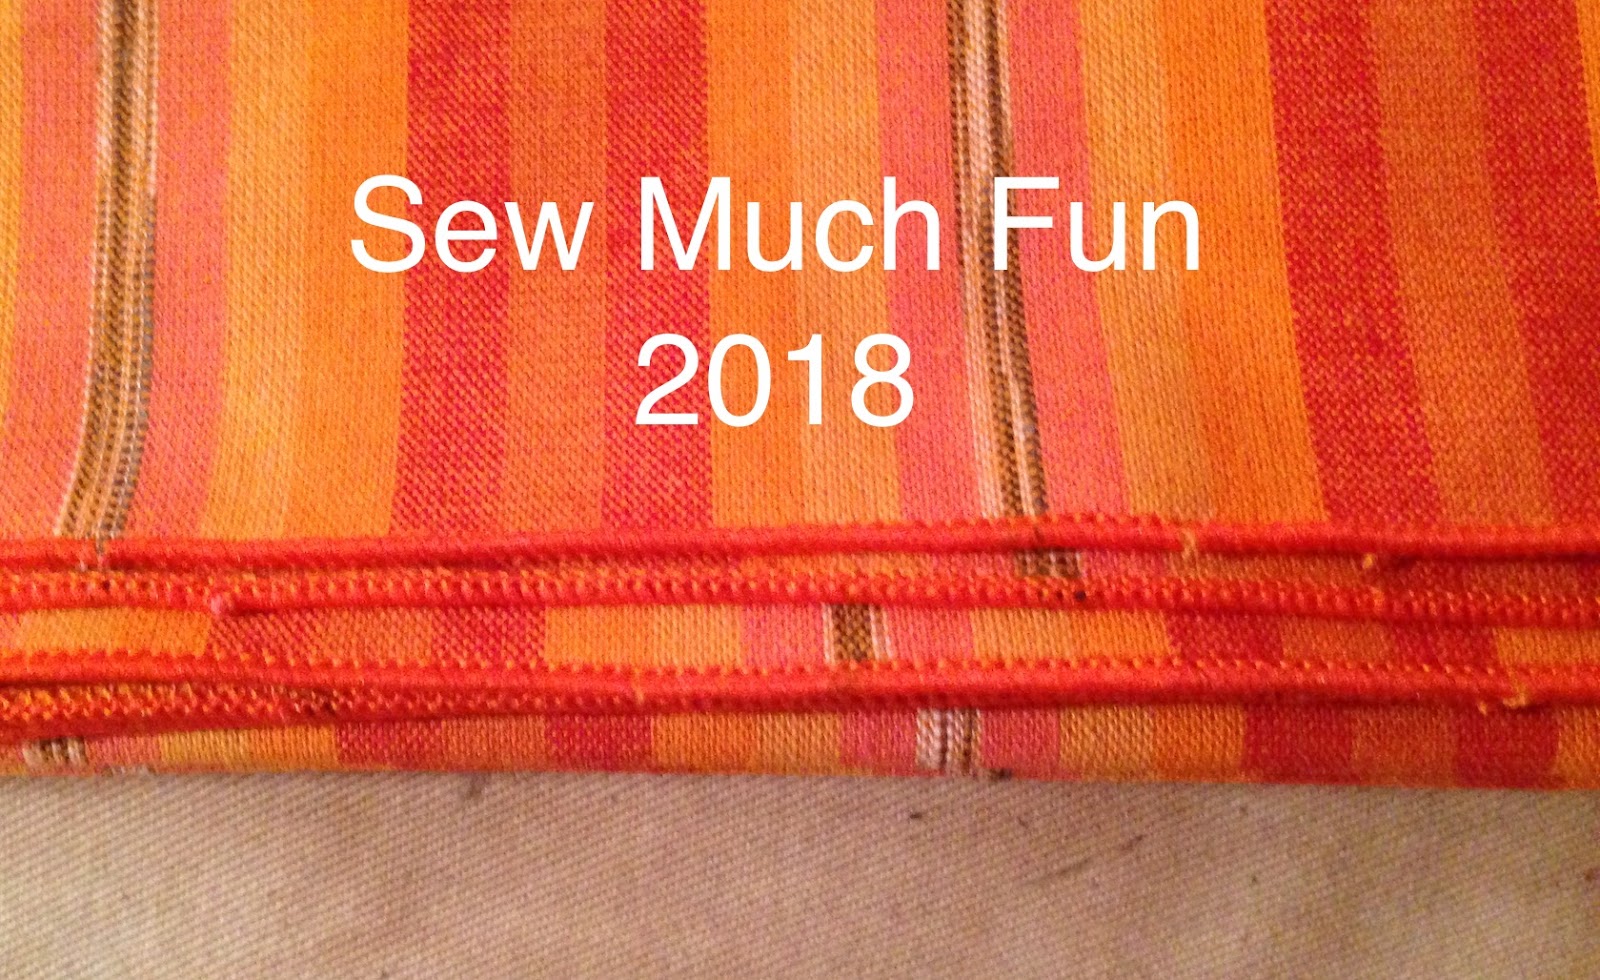
Sewing on the covered cord

     After I did that work, I then serged a piece of lining to the back.  This hid all the stitches on the inside.  I then made covered cord and applied it to the pillow front.  When applying the cord I like to have the pillow piece on the top.  This helps to prevent puckers on the pillow.

Detail of the trim with the mitered corner

     I prepared my back with a zipper and it was lined and serged also.  Then it was put together and a pillow form added.  For this one I chose a slightly smaller form so it wasn't as firm as most of the other pillows I make.

Wednesday, May 23, 2018

Pleated Pillow

Pillow with pleated ruffle trim

     I bought a fun new tool at a class.  It's called The Quick Pleater.  It is used to make pleated trim.

Step one of making the box pleat ruffle

     For this pillow I chose the half inch pleater (I think).  I opted to do a box pleat where you turn the pleater one way and then the other way.

Step two of making the box pleat ruffle

     I cut strips of the ruffle fabric about 3/4 of an inch larger than the finished width.  This allowed me to sew the ruffles at the 1/2 inch line on my machine and then trim off 1/4 inch when I serged the edges.  I left the other edge with a raw edge so it could fringe a little.  I joined the strips with a french seam to hide those raw edges.

Sewing on the pleated ruffle

     I prepared the front piece by adding a lining and interlining and serging around the edges.  I then pinned my ruffle in place , clipping at the corners.

Finished front

     I joined my start and end again with a french seam.

Cutting the back using the lining as a template

     Using a template of the lining and interlining, I then cut my back piece.  I serged all around and then added my zipper part to the back piece.  I used a different part of the pattern on the back so you could flip it around to get a little different look.

Back of the pillow

    Then it was just a matter of sewing the front to the back and putting in the pillow form.

Ruffle practice strip

Tuesday, May 15, 2018

More Summer Dining

Cushions and placemats


     For this summer's dining I am adding to the pieces I have already made.  I used some yellow and orange fabric that I had in my stash to make 8 napkins.

Napkins

     I had two yards of fabric so I was able to cut eight 18" x18" squares to make the napkins.  I bought some orange Wooly Nylon thread and did a rolled hem around all four edges with my serger.

Rolled edge on napkins

          I really like my Babylock eight thread serger, it makes it so easy to do a rolled hem.  I then used the rest of the striped fabric from binding the edges of the placemats, and made a square tablecloth for a different small round table that I have.

Tablecloth and napkins

     Again I just did a rolled hem with the Wooly Nylon thread for a neat edge.

Tablecloth edge

     Hopefully we will soon have a warm enough day to enjoy a family meal out on the patio.

Placemats

Wednesday, May 9, 2018

Birthday T-shirts

Miss M, Cltn and MTB modeling their birthday t-shirts.  

     My three grandkids recently had their birthdays.  I like to give them money for their college education but I also want them to have something to open at their party so I made them t-shirts.


Finished shirt for Cltn
Cltn fabric
     Cltn picked out this fun camper fabric and also black ribbing.


     For Miss M I had this purple teddy bear fabric and I used the same ribbing on her t-shirt.

Getting the stripes just right for the sleeves for Miss M
  
     For MTB I had this fun firetruck fabric.  The two older grandkids chose red ribbing that I had to complete his t-shirt.

MTB finished shirt

Fabric for MTB

     I used the Kwik Sew pattern books for their shirts.  Using the fusible tape made the hems easy to do.

Pattern for Cltn
Pattern for Miss M and MTB

Wednesday, May 2, 2018

After School Sewing 2017-2018


Ambar
Isy
Emma

Aly

     I had several new girls join me in my after-school sewing this year.  A couple only stayed for four sessions and the others stayed for the year.

Loren

Veronica

Makayla

Hailey


      I have two sets of sisters that are friends and have been coming for a while.  They are in book two of the KCS program and are working on projects from the book and also commercial patterns including doll clothes.
Isy

Norah

Reese

Reese


      As the girls are starting on commercial patterns, they are learning about altering patterns.  Several of the girls are tall and thin so we have been adding length to their patterns.  They are so happy when done that the items fit so well.

Grace

Aviva

Grace

Grace

Ellie

      The girls are also getting  the "I can't believe you made that" remarks when they tell people, especially friends, that they have made something they are wearing.  What fun!

Sienna

Sienna

Morgan

     I also have a set of sisters that come for private lessons.  I am teaching them all different kinds of things, including bound buttonholes.  Keeps me on my toes.


     The girls are even drafting some of their own patterns, like this adorable coat for their dog.  Soon these classes will be done for the year and summer camps will start.